I remember making a time capsule when I was in middle school with my sixth-grade classmates. We were all able to contribute one or two items to the capsule that held significance to us - lots of us brought books and photographs to put into the capsule, and some got really creative, making personalized notes to their older selves. Once everything was inside, we buried the capsule next to the football field and forgot about it for a couple of years.
At the end of our eighth-grade year, right before we moved up to high school, we unburied the time capsule from two years earlier. What a shock it was to see all the things we had put inside! We all looked so different and grown up compared to the pictures we had buried, and the items we had put in there gave us nostalgia for our younger days. It was such a treat to unbury this treasure from the past and relive the memories all over again.
Time capsules are such a great way to spend time with friends and family by creating something together, and they offer the opportunity to meet up again later down the road and relive moments from the past. The moment that you dig up your time capsule years later is such a sweet and special experience that will leave you feeling sentimental, nostalgic, and grateful for the life you’ve lived.
If you’ve never made a time capsule before, here is what you’ll need to get started:
Supplies:
- Weatherproof container (stainless steel is a great option)
- Silica gel packets for moisture control
- Flex tape
- Personal items you wish to enclose in your time capsule
- The first thing you need to do is decide where you want to bury your time capsule. Choose a place that is flat and that will not receive too much rainfall. You want to do your best to ensure that the items inside your time capsule do not become sodden with rainwater. Once you choose a spot you like, either mark it with a stick or sign or draw a map to the location.
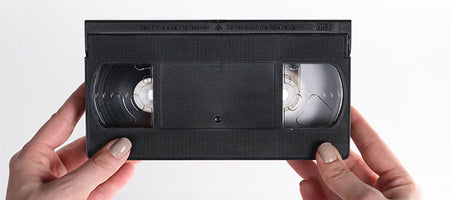
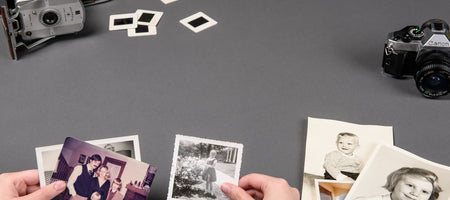
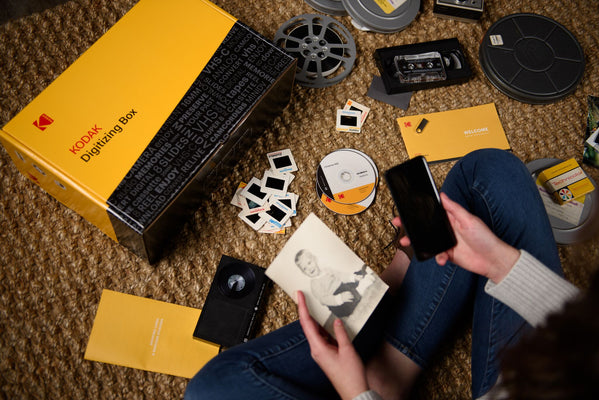
- Next, pack up your chosen items into the weatherproof container. Depending on how much time you want to pass before you dig up your capsule, you may want to include different types of items. For example - if you plan to dig up your time capsule in ten years, you should include old pictures of yourself and maybe a letter to future children or grandchildren. If you are planning to keep your capsule buried for much longer, including some examples of current technology, news, etc. so that the future you can be reminded of what was going on years before is a great idea. If you pack up photos and film or tapes, it is important to get these digitized with Kodak Digitizing before burial in case the media is ruined by moisture damage while buried.
- Keep some silica gel packets inside the container with your belongings. Silica gel absorbs moisture, so having these packets in your time capsule can save your items from moisture damage from over the years.
- Close your weatherproof container and use flex tape around the opening to prevent moisture from entering into the container.
- Finally, dig a hole at the chosen burial spot and put your capsule inside. Pile the soil back into the hole tightly, patting it down around the container and edges of the hole until the hole is completely filled back up.
- Mark your calendar or set an alarm on your phone for the date you wish to dig up your time capsule.
That’s all there is to it! It is simple, fun, and easy to create your own time capsule. Get your friends and family together and make one this summer, and in a few years, you’ll have a surprise from the past waiting for you. Memories are so important, so make sure you document the process of creating your time capsule and digitize all analog media that goes into the capsule!

