Turning things from analog to a digital format is a weird process. The first strange thing is that you’re taking something (analog), which can be any shape in the world, and you’re turning it into a bunch of little digital squares. That’s because, to turn anything digital, it has to be made out of pixels. This is especially weird for printed photos, because they’re printed using dots. That means, to digitize your old family photos, you have to convert something that’s printed in dots into digital squares.
Understanding DPI and Photo Scanning
The standard size for printed images is 4x6. That means each picture is four inches tall and six inches wide. Makes sense, right? When we think about an image that small, it seems to make sense that there’s a maximum possible resolution that can be achieved when we digitally scan them. After all, it’s a physical photo, so it should have physical limitations when it’s turned into a digital photo, right?
And that assumption is correct.
When you scan images, your scanner measures picture quality in DPI, which stands for Dots per Inch. Similar to how digital images use pixels to measure resolution, printed images also have to print somehow. The way they do that is with little dots.
Most printed images are printed at 300 DPI. That means if you’re scanning your original photo at 300 DPI, you’re getting all of the details out of the image that you possibly can. If you scan the image at a higher DPI, you’re trying to get more details out of the image than it has. And as you can imagine, the result may not be as high-quality as you’d like.
To think about it a different way, imagine you have a big sheet of legos. If you use a bunch of the square legos, we could think of that like one of the dots in the DPI. If you divide that square into 4, you’ll be left with 4 squares, but they’ll be the same color as the single square was, and the same size. In other words, you technically increased the amount of resolution, but it didn’t change anything, because it’s still a block that didn’t increase or decrease in size.
When you’re scanning 4x6 photos at 300 DPI--the standard size--you’ll end up with a digital image that’s about 1200 pixels by 1800 pixels.
To recap, pictures are printed with a measurement called DPI: Dots per Inch. Pictures are printed at 300 DPI by default. If we use a little bit of math, that means a 4x6 photo would be 1200 dots by 1800 dots.
Most scanners also measure their scans in DPI. When an image is scanned, dots are translated into pixels, which is how you end up with a 1200 x 1600 pixel digital file when you scan a 4x6 photo.
Best Resolutions to Digitize Old Photos
So what happens when you scan an image that’s bigger than 4x6? Well, it depends. Was the picture printed at a non-standard or higher resolution? How big is the image?
However, there are basic resolution guidelines that you can use to scan your old photographs:
- Standard Photos (4x6 inches, 5x7 inches, 8x10 inches): 300-600 DPI
- Smaller Photos (Wallet-sized or smaller): 600-1200 DPI
- Large Photos (Larger than 8x10 inches): 300 DPI (or 600 DPI for higher quality)
- Photo Negatives and Slides: 2400-4800 DPI
- Documents or Text-Based Images: 300-600 DPI
How To Scan Old Photos For the Best Resolution
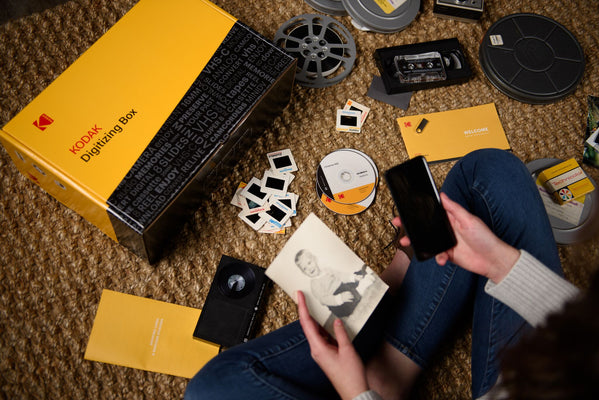
Scanning your photo collection isn’t as straightforward a process as you might think. While you could go for the time-consuming and expensive process of getting a flatbed scanner and scanning your shoeboxes of photos by hand, make digitizing easy and use a photo scanning service. At KODAK Digitizing, we specialize in digitization, meaning we use the most ideal resolution for every single image, every time. You don’t need to do any math, because we do all of the hard work for you. Get started today!

