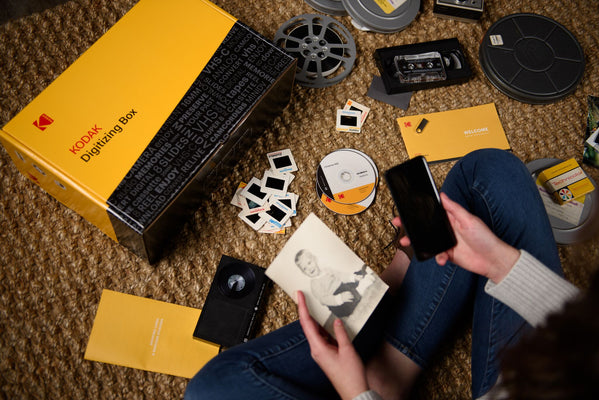
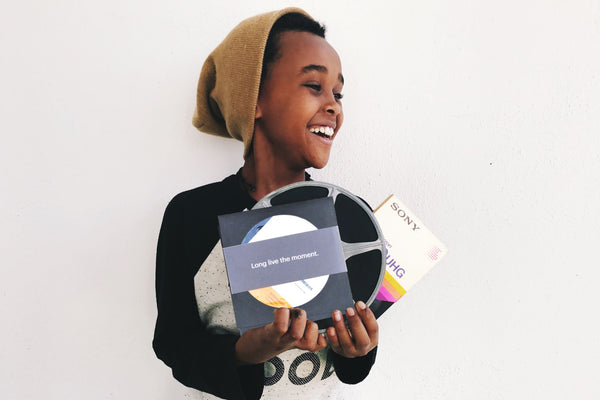
Sending your precious memories to Kodak to be digitized was a tough decision, but you did it. Now you’re just waiting for them to be digitized and wondering what to do next. Maybe you’ve just received your freshly digitized memories in the mail. Either way, you’re twiddling your thumbs wondering what to do with your freshly digitized memories next. We’re glad you’re here, because we have the perfect answer. You should make a highlight reel!
With modern technology and video editing applications, it’s easier than ever to create awesome montages with practically zero training.
With our help, you’ll be able to splice, dice, jump cut, and transition fade your way into an Emmy-worthy video compilation.
Video Editing on Windows
The first thing you’ll need is some video editing software. Unlike Mac, Windows doesn’t come pre-installed with video editing software, so you’re going to need to download one. Luckily for you, some awesome folks made a really nice, free to use video editing software called Filmora. Once you download the program, follow these simple instructions, and you’ll be creating Rocky-type montages in no time.
- Get your movies from Kodak. Grab your stuff and get it onto your computer.
- If you have a thumb drive or DVD, a window will come up asking what you want to do with your media. You’ll want to copy everything onto your computer by dragging it to your documents folder. If you chose digital download, you can skip this step
- For bonus points, you can get extra-organized by right clicking in the white space of the “my documents” folder and creating a special folder and name it something like “Kodak Stuff.”
- Once you’ve copied or downloaded your movies onto your computer, you’ll open up Filmora by finding it in your start menu or on your desktop.
- Select that you want to start a new project and give it a name. Be creative! This part is fun.
- Open up the folder where you saved all of your movie clips, then click and drag the ones that you want to use for your highlight video onto Filmora.
- Put the different video clips into whatever order you like. Don’t be shy, and be flexible! Have a theme or be completely random. It’s totally up to you.
- Add snazzy effects and music. Check out this page for helpful video tutorials.
- Save your highlight reel with whatever name you like. To stay nice and organized, save it in the same folder as all of the clips, but give it a name that makes it easily identifiable.
- Share the video on Facebook! Click here for a guide on how to do that.
Video Editing on Mac
One thing that Macs do an awesome job with is making creative software free, accessible, and easy to use. iMovie is a surprisingly powerful and easy-to-use tool that comes standard with every install of iOS. Because of that, you get to skip the first step that our Windows users have to slog through. Winning!
- Plug in or download your digitized Kodak videos. You’ll get a prompt that asks what you’d like to do with your media, and you’ll choose to save it to your computer.
- Select the stuff that you want to use for your highlight reel and move it into your documents folder. Bonus points if you get extra organized by creating a new folder with just the clips you need!
- Open iMovie and click “Create new.”
- Click on Import media and select the movies that you just copied onto your computer.
- You can drag the video clips from the clipboard window up top into the movie timeline down below.
- Put the clips into an order that you like. Like I just told our Windows friends, don’t be shy! Have fun with it!
- Add titles, backgrounds, and transitions by clicking the menu up top and dragging what you like in between your video clips.
- Add a soundtrack by clicking on the Audio tab up top and selecting a voiceover that you’ve recorded, or add your favorite song. The choice is yours!
- Save the project with a name that you’ll remember and like.
- Share the video on Facebook! Click here for a guide on how to do that.
There you have it! Whether you’re a Mac fanboy or a Windows purist, you’re now equipped with all of the knowledge you need to make epic compilations of your favorite digitized video clips. The most important thing to remember about the process is that it gets easier with practice, and there’s practically no limit to the fun you can have with a little bit of know-how!

