Looking to decorate your home this year with some authentic and homemade decorations? Well, you’ve come to the right place!
Here at KODAK, we’re all about making memories...and that includes some awesome DIY crafts with your memories!Now that the cold weather is here, it’s time to make your home feel like a winter wonderland! Here are the top 4 DIY decorations for your home this Christmas!
Snowflake Forest
Super light, super easy, and super cute! This DIY will have your home looking like a winter wonderland in no time. All you need is paper, some scissors, tape and some string! Everyone knows how to make paper snowflakes.
Just fold your paper into a triangle over and over, and cut different shapes along the triangle paper. Once you unfold your snowflake, cut a piece of string and grab a piece of tape - it’s time to start hanging your snowflakes on the ceiling! You can place your snowflakes along your stair railings, above the fire mantle and all along the ceiling near the bedrooms!
Watch out everyone, winter is definitely coming to town.
Pom Pom Garland
You can call them sugar plum fairies or you can call them pom poms...no matter what you decide, we’re about to decorate your home with this lovely craft! Here’s what you’ll need:
- Balls of yarn (in a variety of colors)
- Scissors
- Twine
- Cardboard
- Something round for tracing ( one large and one small circular object)
Step 1
First, take your card board and your round object (a cup or bowl). Trace two circles on the cardboard in separate spots. The bigger the circle, the larger the pom poms. Next, trace a smaller circle in the center of each of your large circles. Cut out your two large circles. Then, cut out the smaller circle in the center.
You’ll then want to make a small cut on both that will be a slit for the yarn to squeeze through.
Step 2
Hold the two pom poms make circles together and begin wrapping your yarn around until thick. Cut your yarn and discontinue wrapping once thick!
Step 3
Cut a small piece of a string and tie it around your pom pom. Double knot! This is what will keep all the strings together. Then, cut around the rim of the circle. You’ll see your pom pom slowly come to life!
Then, lightly slip off the cardboard circles and voila! You have a pom pom!! Make several more in different colors and tie them onto one long piece of twine. And there you have a beautiful pom pom garland!
Photo Candles
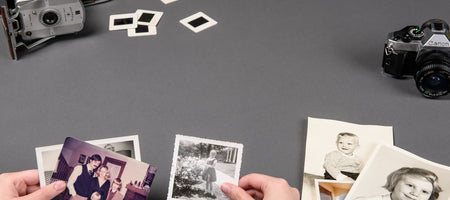
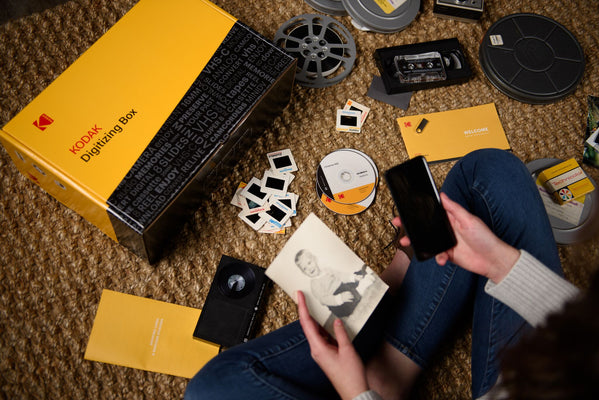
Yay for family photos! This is a fun and very easy DIY that brings the memories of our loved ones onto a Christmas decoration. We all love to relive our memories, so one best way to do this DIY is to have your photos digitized.
Here’s what you’ll need:
- White tissue paper
- Printing paper and printer
- Tape
- Scissors
- Hair dryer
- White candle
Step 1
Take a sheet of white tissue paper and lay flat. Set a piece of printer paper on top and begin applying tape to the tissue paper onto the printer paper. Next, select the photo you would like on the candle, place your tissue/printer paper sheet into your printer and print! You’ll want the image to be placed onto the tissue paper.
Step 2
Cut out the image from the tissue paper and wrap it, image side down, onto the candle. Turn on your hair dryer and apply heat to the image. The image will slowly being to adhere to the candle and ta da! Peel the tissue off and you now have a photo candle!
Melted Snowman
Ahh, last but certainly not least! This is a great family DIY that will bring a smile to everyone who sees.
All you need is:
- white felt
- white bag of fluff
- a white styrofoam ball (for the head)
- A scarf
- Black sharpie
- Orange construction paper
- Scissors
- Tape
Find a nice corner in your home or on your front porch and lay down the white felt. Next, pile the white fluff on top. Take the white styrofoam ball and draw two eyes and either a smile or a frown. Next, cut our the orange construction paper into the shape of a carrot nose and tape to the snowman. Loosely tie a scarf and lay it down on the fluff. Then lay the snowman’s head on top. There you have it! A melted snowman for decoration!
Your home will be filled with Christmas joy and so many memories this year. Make the most with your loved ones this year!

