Photo mugs are a great gift idea for any occasion, especially with winter and the holidays approaching. To create one of these personalized keepsakes, all you need are a few materials at home. No need to go to a professional!
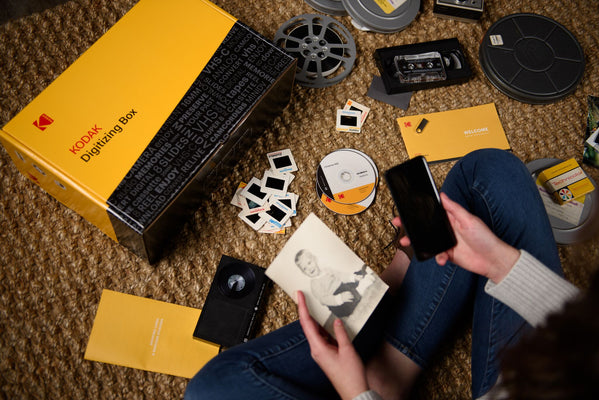
Do you have a lot of old photographs tucked away in albums or scrapbooks?
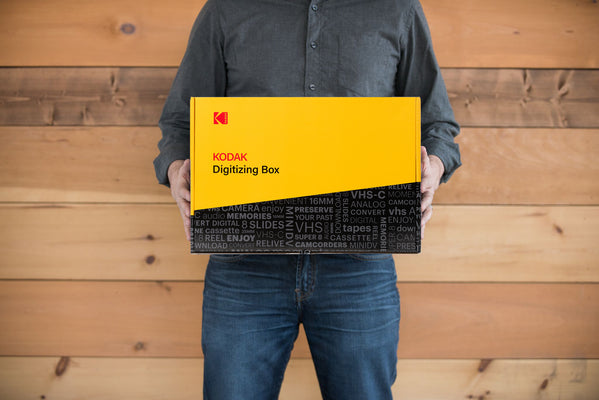
Kodak can digitize these images, giving you the option to use the digital photos in arts and crafts projects.DIY picture mugs are only possible if you print your picture on sublimation or water transfer paper, so you’ll have to digitize your photos first!
There are two common ways to transfer a photo onto a mug. The easiest is with an iron. But if you don’t have an iron at home we list a second option as well.
Heat Iron Method:
- Print your photograph on sublimation paper.
- Tape the picture onto the mug with the photo facing the glass and the backside facing you (leave a little white space on the paper to make sure the edges of the tape aren’t touching the photograph).
- Wait for the iron to heat up, and then press the iron against the back of the photo for at least 5 minutes, continually rubbing over the entire surface area of the picture.
- Undo the tape on the photograph and… voila! You’ll discover a beautifully placed image on the mug just as glossy and shiny as the glass.
Note: In this technique the printed image is technically reusable. The color will be faded but still visible if you want to use it in a scrapbook or photo album.
Water Transfer Method:
- Print your photograph on transfer paper.
- Apply 2-3 liberal coats of clear spray adhesive. These multi-purpose sprays are photo-safe and won’t bleed through the picture.
- Let the photo sit and dry for about 30 minutes to be on the safe side.
- Once dry, cut out the photograph the way you want it to look on the mug. You are not taping it to the mug, so feel free to cut away any white borders.
- Put your photograph in a tray of water for about 1 minute. The picture will curl at the edges, you can hold it down with your fingers inside the water, or leave it as is.
- Take the photo out of the water and place it on the mug with the image facing the mug and the backside facing you.
- Press firmly and flat to prevent any creases.
- Remove the paper backing and you’ll see the photo has remained on the mug flawlessly!
- If you see any bubbles, dab a tissue paper on the blemishes.
The final products will look as if you bought the mugs from a professional. Best of all, your new creation is perfectly waterproof and ready to use. Although we do recommend avoiding the dishwasher with these DIY mugs because the brightness of the images will slowly fade.
To finish up this fun craft project, you can continue decorating the mug with oil-based Sharpie paint markers. Write a nice message or draw a fun pattern and then bake the mug in an oven heated at 350 degrees for 20 minutes. These final touches will turn your mug into the perfect present.