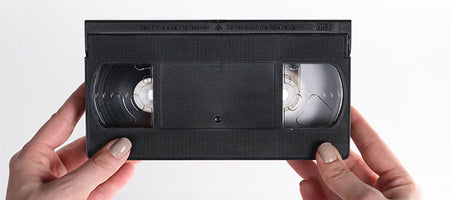
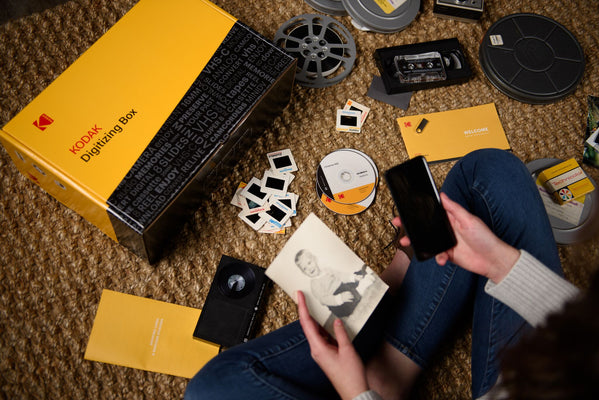
When you get your Kodak box in the mail, you’ll be pleased to see all of your home videos, film, and/or pictures returned to you in great condition. Included in that box will be a little stick called a thumb drive. If you’re not sure what a thumb drive is, how it works, or what it does, this blog post is for you.
Thumb drives are really small storage devices that boast huge capacity for such a tiny little packages. To put it into perspective, a single thumb drive (128 GB) can hold more data than 180 CDs, 27 DVDs, or 88,000 floppy disks. Do you have any of those old floppies lying around? Probably not.
That’s OK. With thumb drives, you don’t need any of those other things. That’s because thumb drives last longer, they’re more compact, and they’re more simple to use than any of those old fashioned storage disks. Here’s how they work:
For Windows:
Step 1: Insert the thumb drive into one of your computer’s USB ports. Most Windows computers have a few of them, which is good news for you. Our Mac-using friends might not be so lucky.
Step 2: Wait a second. It might be a few seconds. When you put your thumb drive into your computer, your computer is doing some cool things behind the scenes. Go grab a soda from the fridge (or refill your water if you’re a healthy person), and when you return to your computer, you’ll see that a new window has popped up on your screen.
Step 3: Choose your path. The first thing you’ll want to do is click on “open folder to view files.” When that happens, you can browse around all of the different files in the thumb drive. You can see all of your pictures, videos, and audio recordings in neat little folders. You can double click a particular file that you’d like to see. If you want to save it to your computer, you can click on it, hold down the click button, and drag the file onto your desktop. Voila! It’s saved on your computer.
Step 4: Eject the thumb drive. It’s not good to just take thumb drives out of your computer while they’re still in use. What you’ll want to do is turn off the thumb drive before you remove it from your computer. To do that, you’ll just look on the left side of the window where all of your files are, click the little eject icon, and you’re good to go!
Step 5: Remove the thumb drive. That’s it!
For Mac:
First off, some bad news: for anyone who has purchased a new macbook in the past year or two, your laptop probably doesn’t have a USB port. That means you’ll need to buy a dongle before you can use your thumb drive. Once you’ve got a way to plug your thumb drive into your computer, you’re ready to go.
Step 1: Plug in your thumb drive. You can’t do much without plugging it in, after all.
Step 2: Give it a couple of seconds to get warmed up. You should get a screen that pops up after a few seconds that asks what you’d like to do with your thumb drive. You’ll just click to view your files. If that screen doesn’t pop up, that’s OK. You can also get to your thumb drive’s files by clicking on the “Finder” icon on the bottom of the screen. It’s the one with the face on it. When you do that, on the left of the window will be a little section called “devices,” and you’ll click on the thumb drive in that section. You can also click on the icon on your desktop that says thumb drive. All of those things take you to the same place.
Step 3: Browse your files. Once you have your thumb drive opened, you’ll be able to browse around and look at all of your pictures and videos. You can also drag the file onto your desktop to save them to your computer.
Step 4: Eject the thumb drive. Just like our Windows users, you don’t want to just pull out a thumb drive that’s still working. You’ll just pull up your desktop, look for the icon that says Removable Disk, hold command and click, and choose eject. That’ll turn off the thumb drive.
Step 5: Remove the drive. You can safely unplug the thumb drive and store it wherever you’d like until you want to use it again.
And that’s about it. For the most part, your computer should help you through the process of using your thumb drive once you plug it in.

