Back before digital photography made instant photo taking and sharing as easy as point, shoot and post, we all dealt with developing rolls of film. Twenty years ago, you couldn’t just snap a selfie (that term didn’t even exist, BTW) and instantly preview it to make sure your duck face was on point. No, you would have to look through the viewfinder of whatever camera you were shooting with and just hope for the best when you took your film roll into the pharmacy to get developed. And when you got that little paper sleeve full of your 4x6 family photos back, mixed in between all those pics of people sporting red eyes or closed eyes, were thin brown strips with mini-pictures on them – aka, your negatives.
You probably never paid much attention to those negatives, other than checking out how weird they looked when held up to the light, but in reality, those were your actual pictures. And if you still have a bunch of old film negatives laying around, then you’re sitting on a nostalgic photo goldmine
What are Film Negatives?
Simply put, negatives are your actual pictures. They’re what allow you to take film and turn it into printed pictures. They’re called negatives because they’re just that – the exact inverse of what the final picture will be. The colors and brightness values are inverted meaning whites are actually blacks, blacks are actually whites, etcetera.
How do Negatives Work?
We all know the camera process works by exposing film to light. That light exposure causes chemicals in the film to react depending on the kind of light. When you take film to get developed in the darkroom, that exposed film is turned into usable images and then printed for your viewing and future-framing pleasure.
And those little brown strips of negatives are what’s left of the film that was in your camera, post chemical development process
The Picture Power of Negatives
Like we said earlier, negatives are what allow you to make printed pictures and the colors are the exact opposite of the final pictures you print. But to get to this point, negatives are projected through what’s called an enlarger on photo paper. The enlarger shines light through your negatives and the result is projected onto photo paper. The colors are flipped which creates the original captured moments that are perfect for hanging on your wall, propped up in frames on your mantel or stashed away in brimming photo albums.
How to Convert Negatives to Digital
What may have seemed like an insignificant part of your developed photos back in the day, is actually the most vital part to preserving their future existence. Sure you can scan actual photos or take digital pictures of them, but the original negatives give you the ability to make physical copies of your original images, blow them up to a bigger scale and create high-quality digital file backups. Because let’s face it, your old pictures – all those precious and irreplaceable memories – could use a contingency plan.
Converting Negatives to Digital Pictures at Home
Converting film negatives to digital images at home involves a few essential steps and tools. First, you'll need a flatbed scanner or a dedicated film scanner, designed to handle the small size and detail of film negatives. Start by carefully cleaning your negatives to remove dust and fingerprints using a soft, lint-free cloth or a blower brush.
Next, set up your scanner according to the manufacturer's instructions, placing the negatives in the holder or adapter provided. Use the scanner's software to select the appropriate settings for scanning negatives, including options for color correction and resolution. For the best results, scan at a high resolution (at least 2400 dpi) so your scanned image captures all the fine details of your negatives. Make sure to preview the scan and make any necessary adjustments to the settings before doing the final scan.
Finally, after scanning, you can use photo editing software such as Adobe Photoshop to further enhance and clean up the digital images. This might involve adjusting the colors, contrast, and brightness to get your images looking their best.
Other popular methods used to digitize negatives at home include using an app or taking pictures with a phone or digital camera. However, there is an easier way to get digital copies of your precious memories.
Use Kodak Digitizing to Convert Your Negatives
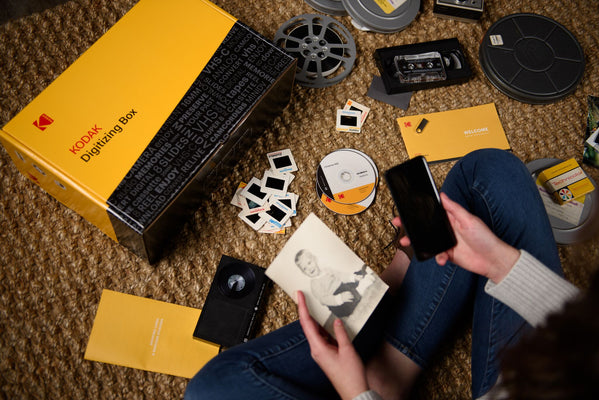
There is no need to go through the hassle of the photo scanning process at home when you can let Kodak Digitizing convert your negatives for you! We can make digital backups of all your negatives so you don’t have to worry about the safety of the environment in which your film negatives are stored. Our services include a digital download with an optional thumb drive, perfect for saving your negatives!
Film negatives are super fragile – oil from fingerprints, too much light exposure, even old age can ruin them. So digitize with us today and turn a potential negative situation into a positive memory!

