Looking for a creative craft night idea? Photo transfers to wood are a lot easier than they look, and give your photos a beautiful rustic feel. This craft is ideal for wood coasters, wood ornaments, and woodblock hang-ups (if you want a fun twist to a typical framed photo).
The wood surface options are endless!
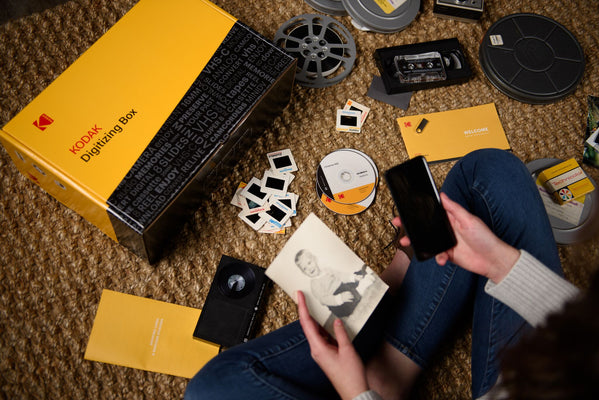
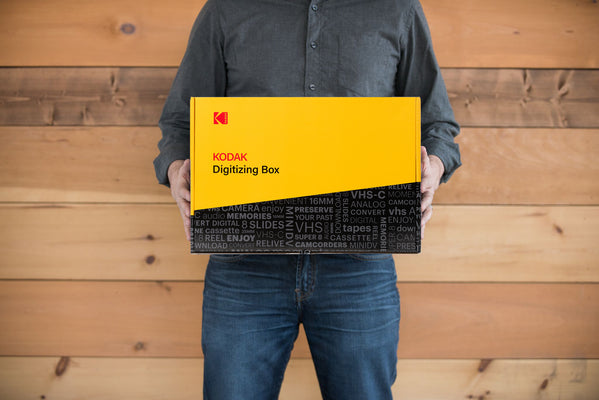
And once you digitize your old photos with KODAK Digitizing Box, your photo options are endless too.
There are plenty of ways to transfer old photos to wood depending on your time commitment and materials at-hand. We’ve listed four ways you can do this craft at home.
Keep in mind the photos need to be printed on paper, so digitize your photos before starting the craft project.
Option 1: Using Mod Podge
You’ll be pleasantly surprised by the crisp quality and photo color using this technique. But this method does take over 24 hours due to the drying time required for the Mod Podge.
- Trace the printed photo to make sure it fits onto the flat wood surface
- Before placing the photo on the wood, cover the wooden surface in Mod Podge
- Press the photo on top of the Mod Podge and smooth any bubbles or creases
- Put a heavy object on top of the photo to make sure it dries evenly
- Wait 24 hours
- Dampen the remaining paper with water and rub off all the paper
- The photo transfer remains on the wood just like magic!
Option 2: Using Tattoo Paper
Tattoo paper is exactly what it sounds like; it’s a special paper that allows you to make DIY fake tattoos with your own designs. You can also use the paper for photo transfers.
- Print your photo onto the tattoo paper
- Cut around the edges to make sure the photo fits the wood surface
- Put a thin layer of Mod Podge on the wood surface to make sure the tattoo paper doesn’t stick to the surface
- Once dry, place the photo on the wood and spray with water until damp (just like a fake tattoo) and do not rub the paper
- Peel off the sheet of paper and you’ll see that the image remains on the wood
Option 3: Using Wax Paper
This technique is simple and you most likely already have all the materials at home. There is a caveat; the images will be flipped backwards. For most images this won’t matter unless there is text involved, which in case you can edit the photo online before printing. The wax paper method gives the photo a distressed look with less saturated colors. If this is the style you’re going for, then use this photo transfer option. You can use wax paper, sticker paper, or any other paper with a glossy surface.
- Print your photo onto wax paper
- The ink won’t absorb into the wax paper, so be careful not to smear or touch the image
- Flip the wax paper over so the ink side touches the wood surface and press firmly to make sure all the ink is absorbed