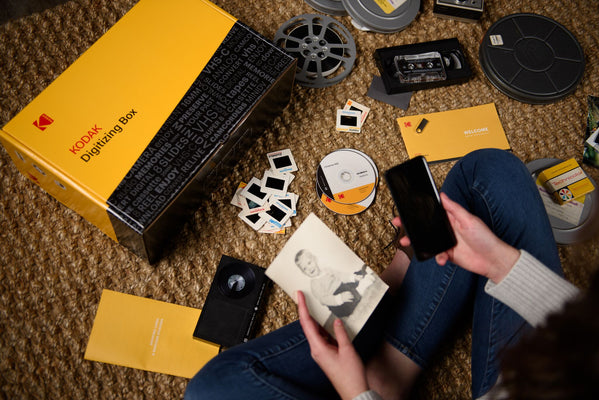
If you just got your print photographs digitized with KODAK and are looking for a new craft to try out with the digital copies of your favorite memories, we’ve got a great idea for you!
There’s no blanket cozier than a homemade quilt. The amount of love and work that goes into making one is evident through each stitch, and those of us who have been lucky enough to have been given a homemade quilt know the unique value of a gift so precious and original.
That being said, a quilt infused with family photos can only be more valuable than a traditional quilt.If you still have some Christmas presents to get, or you want to home-make something just because, this photo quilt DIY is perfect for you. Once made, this photo quilt will be an heirloom in your family, and will no doubt leave you feeling proud for accomplishing a DIY so intricate. Let’s get started!
Supplies needed:
- 48 8-½ by 11 squares of white, 100% cotton fabric, plus 2 extra yards for backing and binding
- Batting 36x48
- Freezer paper
- Bubble Jet Set 2000 printing solution
- Bubble Jet Rinse
- Large lasagna pan for soaking
- Cardboard to make a template for the quilt
- Paper and pencil to draw a quilt diagram
- Computer
- Inkjet printer
- Computer paper
- Digital camera
- Disappearing ink pen
- Sewing supplies such as scissors, thread, rotary cutter, healing mat, cutting guide, seam ripper, iron, ironing board, sewing machine, and pins
- Quilting thread
Step One:
Gather photos on your computer that you would like to be featured on your quilt. If you want to use print photos you already have, you’ll need to first get them digitized with KODAK Digitizing!
Step Two:
Bring your chosen photos to the craft store to compare the colors in the photos to the colors of fabric that you choose for your quilt. Purchase the fabric you like the best in the dimensions listed above.
Step Three:
Wash and iron all the fabric you bought for your quilt. Cut pieces of freezer paper in 8-½ by 11” sheets. Cut the white cotton fabric slightly larger than the freezer paper sheets. Then, soak the pieces of cotton fabric in the lasagna pan filled with Bubble Jet Set 2000 for 5 minutes. Take the sheets out and lay them out to dry on a towel.
Step Four:
Place the freezer paper on your ironing board with the shiny side up. Then, place the sheets of dry, treated, cotton fabric on top of the freezer paper sheets. Using an iron, press firmly onto the sheets until the fabric is bonded entirely to the edges of the freezer paper.
Trim the excess fabric, then print photos onto the sheets immediately. You may want to do this after you iron each set of papers. You can put the fabric/freezer sheets into your printer just like you would do with photo paper.
Step five:
Allow the printed fabric sheets to dry for at least 30 minutes, then rinse them in diluted Bubble Jet Rinse to seal the colors into the fabric and prevent bleeding. Set them out on a towel to dry again.
Step six:
Choose a pattern for your quilt and diagram it on regular computer paper. Then, hang a large piece of felt on your wall to see the bigger picture. Cotton will stick to felt, so you won’t need any adhesive to do this.
Step seven:
Cut the photo fabric into even dimensions of your choosing. 8-½” squares can be a good choice for these purposes. Then, begin sewing them together, allowing for at least ¼” seams.
Step eight:
Cut the batting and backing fabric slightly larger than your photo quilt. Pin and baste the three layers of fabrics together.
Step nine:
Put your quilt all together using a sewing machine. Start in the center of the quilt and work outwards. Use a #2 stitch to make for easy editing, if need be.
Step ten:
Cut 2” strips of binding fabric widthways, enough to cover all four edges of the quilt. Make one continuous strip by sewing all strips together in diagonal seams.
On one end of this binding strip, cut diagonally and press a ¼” seam allowance. Fold the strips in half, lengthways, and press. At the top of the quilt, position the raw edges of the binding with the raw edge of the quilt and pin in place. Stitch a ¼” seam all around the quilt.
In just ten steps, you can make a photo quilt that you can pass down in your family from generation to generation. What a beautiful way to capture sweet family memories!

